Wednesday, October 31, 2012

Knock Off Z Gallerie Skeleton Hand and It Is Halloween Everyday At Our House

Happy Halloween everyone!

Today, I am bringing you my one and only Halloween project.  I was inspired by this metallic skeleton hand from Z Gallerie.


Here is what you need to make this yourself:
 
 
Metallic Silver Spray Paint (I already had)
Silver Glitter (I already had)
Resin Skeleton Hand (Michael's)
 
I didn't take any pictures while making this.  It is pretty self explanatory.  Paint the hand with the metallic spray paint and while the paint is wet sprinkle some glitter onto it.
 
Here is my version of the metallic skeleton hand.


It fits in perfectly in my living room, not because it is Halloween. You see, we decorate our living room with Halloween-esque decor year round.  Here is a look at some of our decor.


We have skulls, black candelabras, black candle holders and a crow that were all in the Halloween section from various stores.  Every year, I can't wait for the Halloween decorations to come out in the stores so that I can add to my collection.  We don't do pumpkins, spiders or anything too creepy.  A lot of Halloween decorations are baroque style and that is the style that I love.  If that means I have to shop in the Seasonal section of stores than that is what I do to get my baroque stuff.
 
 
When our living room is complete, you will see the baroque style come into play.  So stay tuned for that.
 
 
I hope you all have a wonderful Halloween.  Until next time...


Tuesday, October 30, 2012

My Favorite Halloween Pumpkin Tutorials

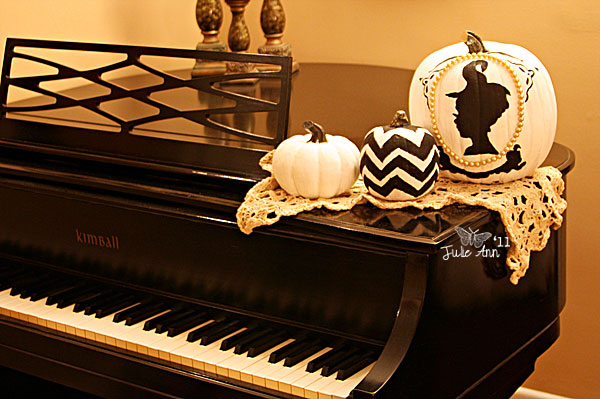
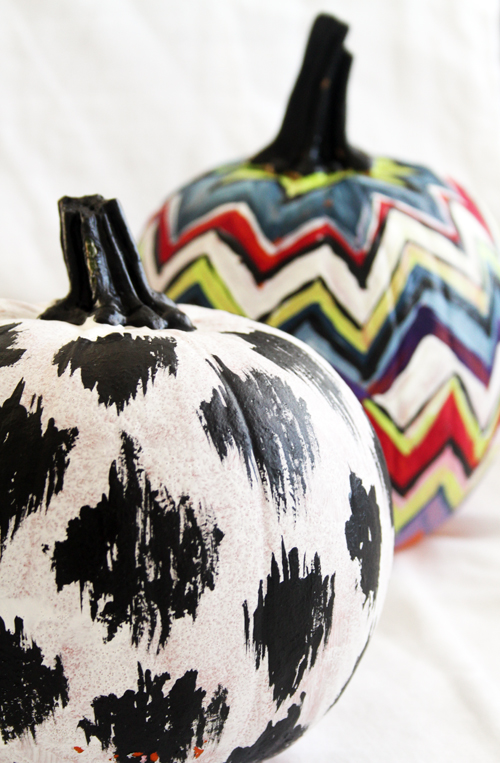
I know I haven't posted anything Halloween related.  So today, I thought I would show you some of my favorite pumpkin tutorials in blog land.  I love all the black and white baroque pumpkins.  If I decorated pumpkins, I definitely would be making all of these.  Enjoy!

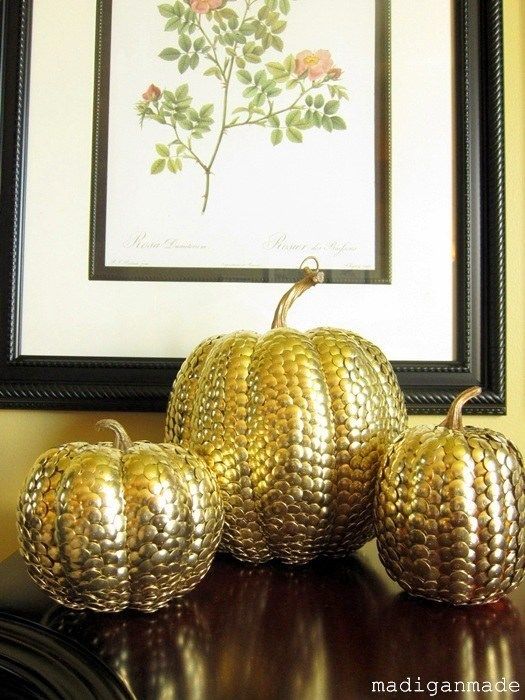
Beautiful! Tutorial for gilded pumpkins with brass tacks at madiganmade.com


IMG_0984


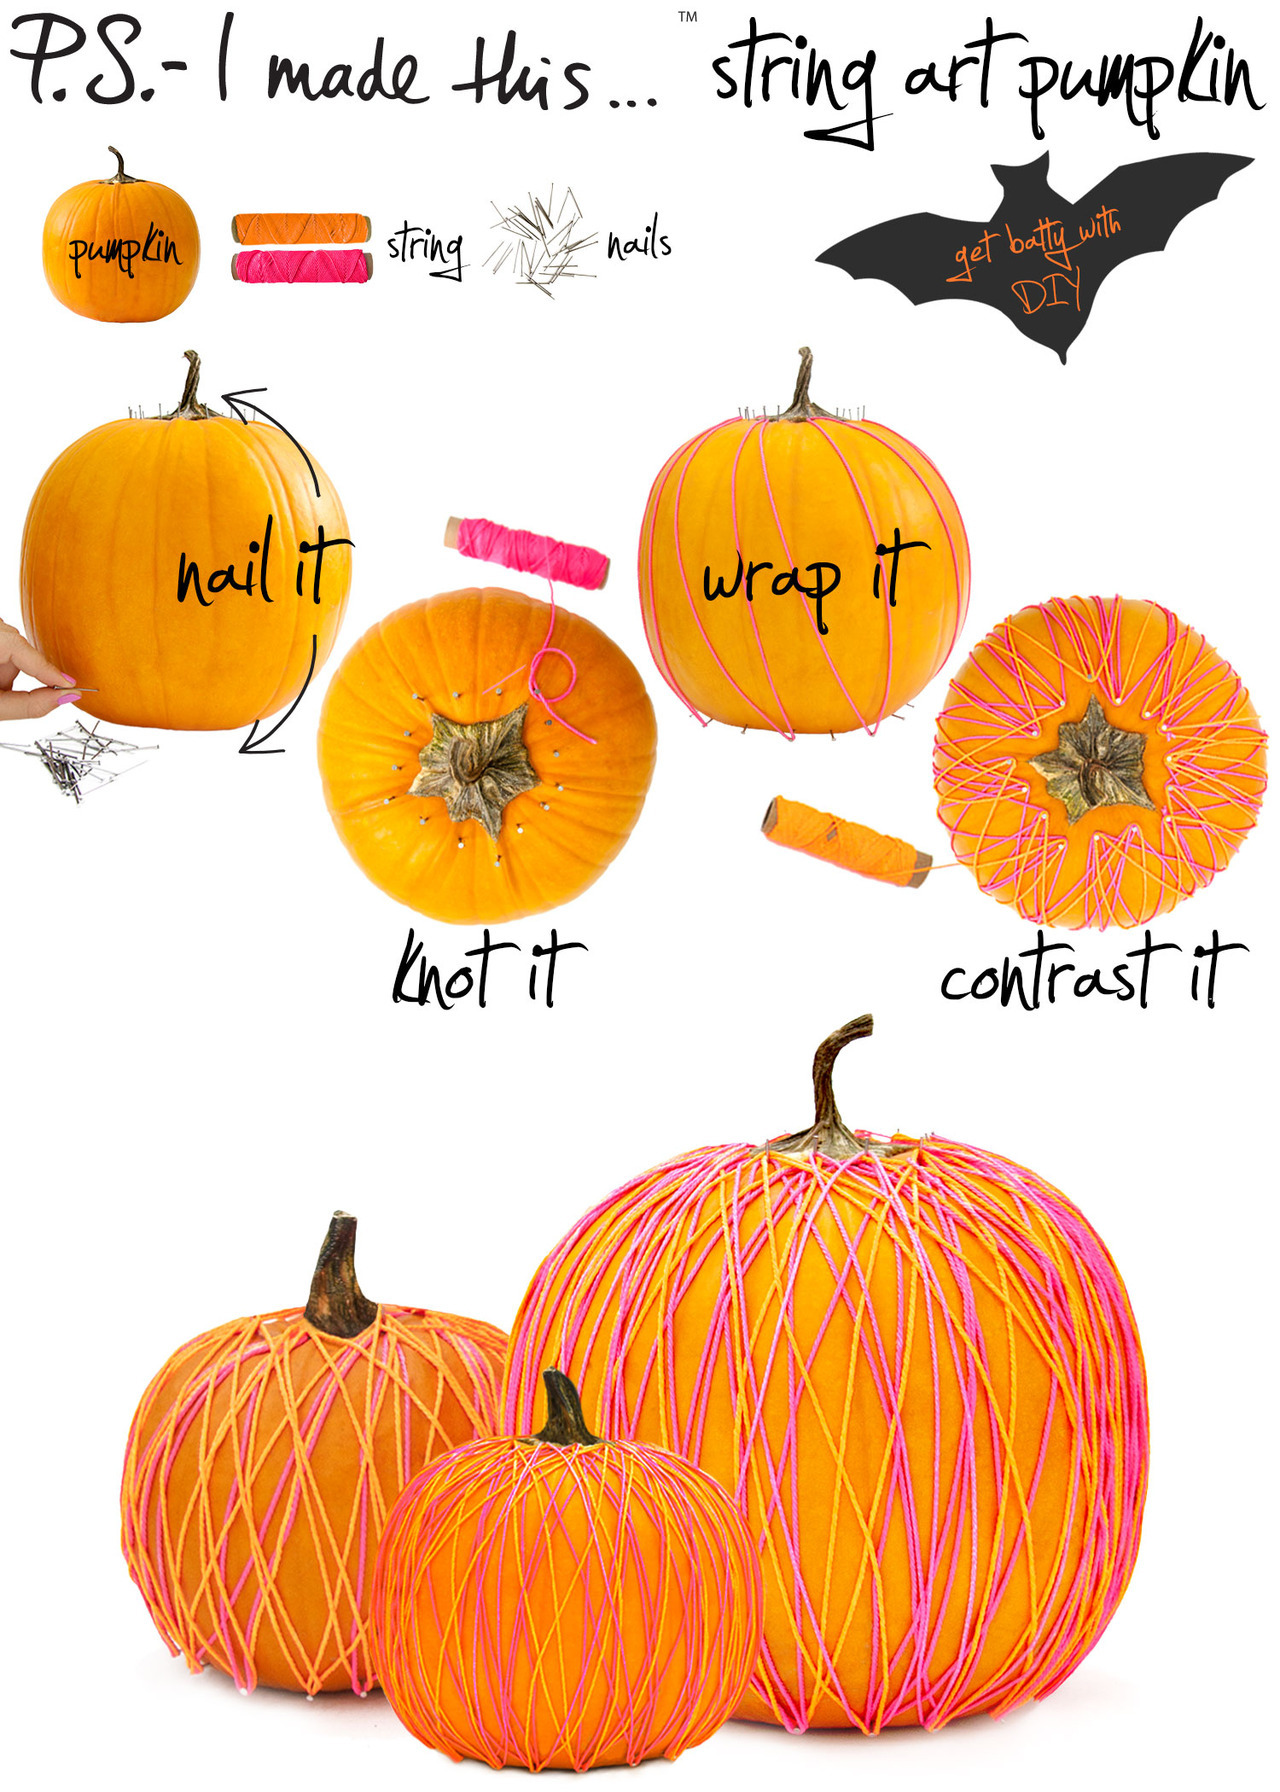
Halloween is that magical season where imaginations and creative fantasies run wild, and it’s the ultimate opportunity to scare up that limitless array of crafty tricks & treats you’ve been dreaming up. While whipping up a costume may be the first project on your list, we suggest taking dress-up to the next level with a boo-tiful take on string art. With some colorful string, nails and a geometric pattern in mind, create this unique holiday décor that’s unexpectedly chic and one-of-a-kind. 

To create: Push thin nails around the top and bottom of the pumpkin in a circle formation, leave approximately half an inch between each nail. P.S.- Don’t push the nail heads in yet. Knot the pink string to a nail and wrap it in an up-and-down pattern across the pumpkin. Create contrast with a different colored string and repeat the knot and wrapping step. To finish it off, push the nail heads into the pumpkin to secure.

P.S.- Enter Polyvore’s All Hallows collage contest, for a chance to be featured on Polyvore!
 
 
Tomorrow, I will show you the one and only Halloween project that I worked on this year.  I will also explain why that is the only Halloween project you will see from me.  Please, come back tomorrow to see it.


Thursday, October 25, 2012

DIY Fabric Covered Corkboard Inside A Closet

Today, before I continue painting in our kitchen, I thought I'd show you how I made these cork boards that are in the closet.


I bought 3 rolls of cork at Lowe's.  It is very thin and I recommend buying a thicker cork or double up the cork for this project .


First, take the doors off of the closet and place them on a flat surface.  I used the floor.

Next, you will need to cut the cork so that it is the same size as the doors.  Cutting cork is really easy especially this thin cork.

I used Loctite Power Grab to glue the cork down onto the back of the closet door.


Add some magazines or books to weigh it down as it dries.  I waited about an hour before adding the fabric.


Cut your fabric to be slightly bigger than the cork.  Then, place the fabric on top of the cork.


Fold the raw edges under and secure fabric with an upholstery nail.


Space the nails every inch or half inch (whatever looks good to you).  Continue adding nails all the way around the door.

Put your doors back on and voila!  You now have a cork board to add outfit inspiration or receipts for clothes you might want to take back.  


Because I didn't double up the cork, I am having a hard time finding thumb tacks that are short enough to use with this thin cork.  I may have to be okay with the tack going into the closet door a little.

I love that the bedroom is finished and can't wait until the rest of the house is done.  We decided to hold off on doing the Living Room until the spring.  So that means I will be working on the Kitchen and the Office in the meantime.  Hopefully, those rooms will be done completely before spring.  I am excited and can't wait to show you the rest of our house.
   

Wednesday, October 24, 2012

DIY Guitar Display Shelf

Sorry I haven't posted for awhile.  I have been painting our kitchen pretty much every day.  I always think I will have time to blog afterwards, but it never happens.  I just get so exhausted after painting that I just crash when I sit down.  Oh well, I am here now. 

Here is a small project that we did in our office the other day.


Our office has a mix of things happening in there.  It is an office and a craft room first and foremost.  It is also the home of our musical instruments and sports memorabilia.  With limited floor space, I needed to get the guitar and banjo off the floor and out of the way.  

In a brief conversation with my husband about where I would like the instruments to go, he quickly came up with something.  He proceeded to go out to the garage and made it literally in about 15 minutes.

It is just a 2x4 piece of wood with large dowel rods screwed to the back.  He measured the necks of the guitar and banjo to space the dowel rods appropriately.  That is it. 


He screwed it directly onto the wall.  After that, I taped it off and painted it white.


Another easy DIY project checked off the list.  Many, many more projects to come.  Please become a follower of my blog, to see all our upcoming projects.  You won't be disappointed!

I'm linking up to:


TrendyTreehouse


Photobucket

Thursday, October 18, 2012

DIY Doggy Toy Box


I didn't forget about showing you how we made this toy box that was in the mudroom reveal. The bad blogger that I am, didn't take any pictures while making it.  We basically had to remake it.  No worries, a family member will be getting their very own toy box as a present soon.

Here is what you need:

Wood
Screws
Fabric of your choice
Mod Podge
White Paint or Primer
Paint Brush


Tools Needed:

Saw
Drill
Tape Measure


Determine where you will be putting the toy box and measure the area to make sure it will fit before cutting your wood.  There was no room for error with my toy box so that it fit correctly in that space.


Once you have determined the size, you can figure out your cuts in the wood.  To make it easier for this tutorial, we decided to make the toy box width the same size as the width of the wood we bought.  That meant that we had 3 pieces all the same size (the bottom, front and back).  Then 2 smaller pieces for the sides.  


After the wood is cut you are ready to start assembling your box. 

It is important to drill a pilot hole for your screws so that the wood doesn't split.  Make sure your drill bit is down towards the bottom so that it goes into both pieces of wood.


After the pilot hole is done, go ahead and screw the two pieces of wood together. 


Make sure to counter sink your screw so that it isn't sticking out of the wood.  This makes it easier to cover with fabric later on.


You should put 3 or 4 screws in per side to hold it together.


Follow the same steps for the back side.  Then go ahead and do the sides.


Once the box is assembled, you are ready for paint.  If you are using a darker fabric, you probably don't need to paint the wood.  I was afraid you would see the wood grain through the fabric so I decided to paint it white first.


After the paint has dried completely, you can cover it with fabric.

Put a layer of Mod Podge onto the wood and then place the fabric down onto the Mod Podge.  Smooth out all the air pockets and wrap fabric around the edges.


When that dries, put another coat of Mod Podge on the fabric to seal it.  If the fabric feels tacky, you can use a spray sealer like Krylon Satin Finish on top of that.

This toy box replaced a bone shaped toy box that we had for years.  This one is far more appealing to look at and it matches the room better.


I have been in kitchen mode all this week.  I already started painting in there and have been trying to come up with a plan for what I want to do.  I still have a few more tutorials to show you for the mudroom and the bedroom.  I even have a tutorial for a project that I did in our office.  So stay tuned.  A lot of things coming up.


I'm linking up to:

SNAP!